Behind the scenes, wedding photography post production
What happens after the wedding photographer takes the photos?
As a wedding photographer one very cool aspect of my weekly job workflow is editing photos. It may sound tedious I know, but I get to wake up each day knowing that I’ll have a chance to flex my artistic muscle to truly bring out the best out of the photos I have saved on my hard drive. This creative process is such a big part of the service my clients pay me for however it is the one aspect of my job that is least understood so I thought today I’d crack the door open and share my editing process with you.
Years ago I edited each photo exclusively in the Photoshop program. Although I adore Photoshop this software is simply not suited for large scale post production due to the image rendering time it took to export a single photo. For the first two years I was in business I used Photoshop exclusively to edit my clients photos . It was incredibly frustrating and waiting for each photo to export was like watching an olympic runner crawl at a snails pace. Now don’t get me wrong, Photoshop is wonderful for when I need to edit out an object (like a stray hair gone askew) or to add an element to a scene (like cloning a missing flower petal to a bouquet that was dropped). The problem lies in that it just takes so o o o o o o o o o o o long for the program to plow through hundreds of photos at a time, something that is absolutely essential in my line of work. It would take weeks to complete the post production process of just one wedding!
After those first few years I was starting to feel a little burned out so I began the search for a batch editing solution for my post production process. What I was looking for was a editing program that could render and export digital files at lightning speed and offer a solution for applying a one touch preset that I could use to work on hundreds of photos at once that were all shot under similar lighting conditions. After trying out a few other programs with meh’ results I returned to Adobe and downloaded their photo editing program Lightroom. It turns out that this software was specifically designed for the needs of high volume photographer like me who don’t want to compromise image quality for speed.
First off, I strive to get the shots right inside the camera first and always shoot in a RAW image format. I do this because a RAW image file saves allot of information that other file formats (such as JPEG) discard. RAW images are MUCH larger files and therefore are ideal for exporting the largest final JPEG file sizes possible for my clients who are looking to print exceptionally detailed photos.
I do want to take the time to note that a RAW image file tends to look much duller and flatter than the scene I’m actually shooting. This is why my website does not have a ton of RAW image file examples on it. Simply put, RAW photos just don’t display that needed punch of color as much as in camera rendered JPEG image files will produce straight onto my hard drive. This is because RAW image files aren’t just simple images. RAW image files store ALL of a scenes information, a literal treasure trove of data which will require me to make decisions about what to do with the data after the shot. RAW files require extra work to bring them up to the standards reflected here on my website, whereas in camera JPEGs don’t — the camera compresses the data and pixels, and does that work for me. So why should I bother with the RAW format anyway? Isn’t JPEG “good enough”? Heres the deal, shooting and editing in a RAW file format allows me do to a lot more in Lightroom since I will have access to all of the scenes captured image data needed to edit and export a truly extraordinary high resolution finished image. If I shot entirely in JPEG format I would lose access to being able to perfect and manipulate shadows and highlights since access to the fine particulate image data is entirely deleted when shooting in a JPEG format.
Once I have completed the editing process in Lightroom I do export JPEG file versions of the original RAW images since once the editing is done a Hi quality JPEG file is more then adequate for printing and sharing needs.
My basic post production process is featured below...
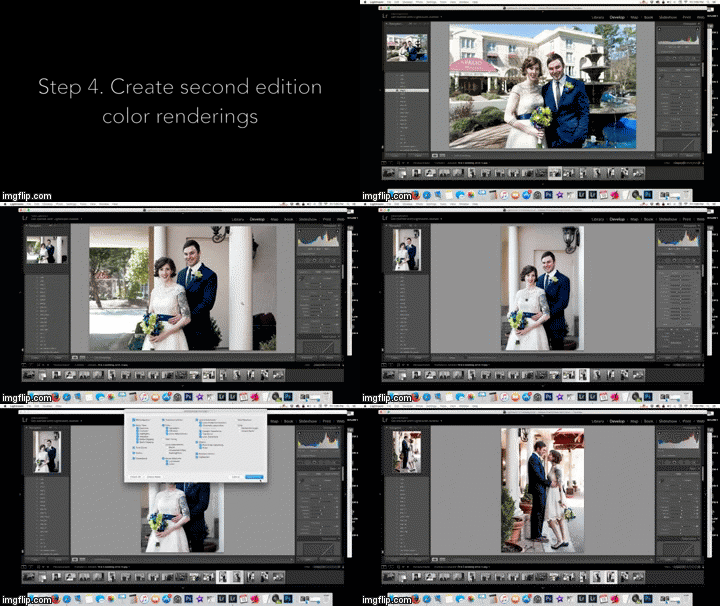
The bulk digital images are sorted and the best images are chosen for further editing
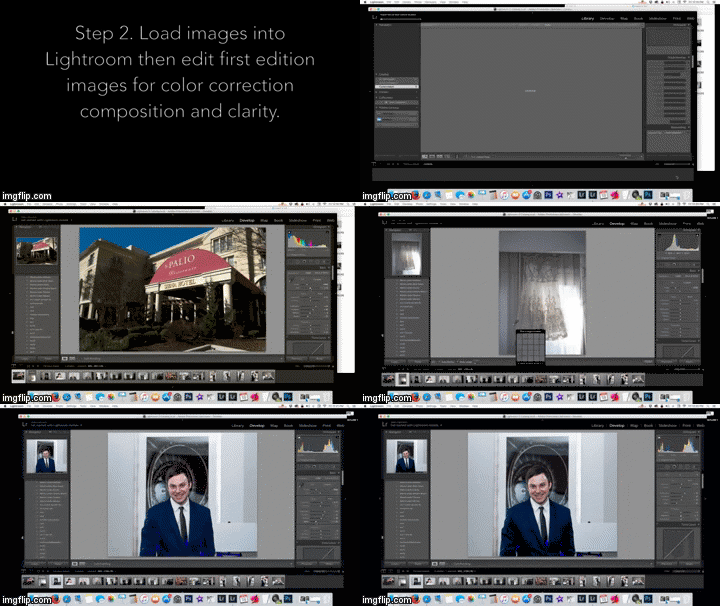
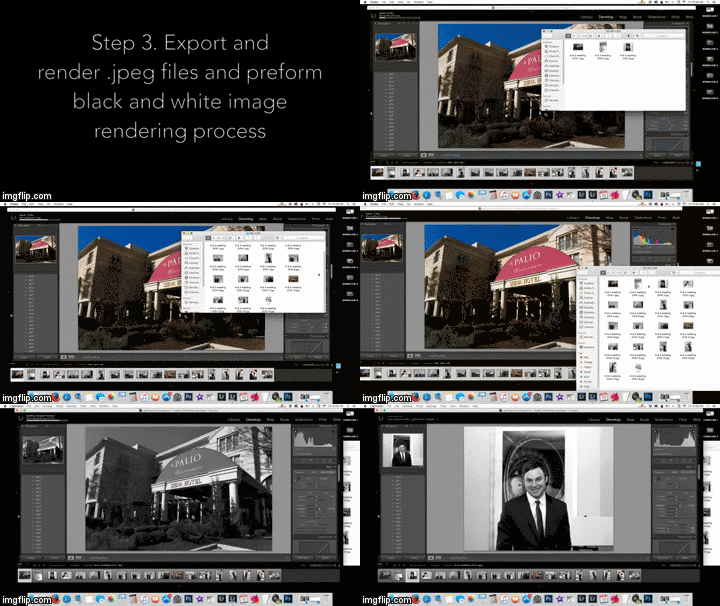
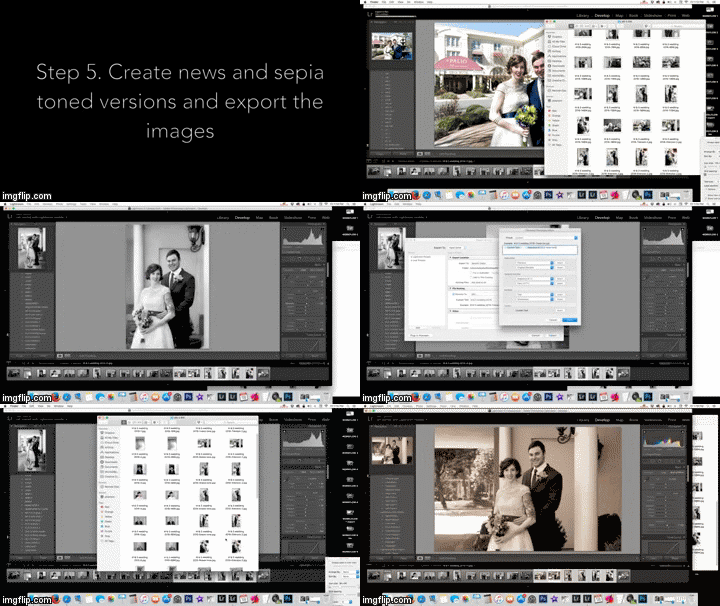
A black and white version is created for every color image rendered.
A second edition color pop version is created for every couples portrait taken.
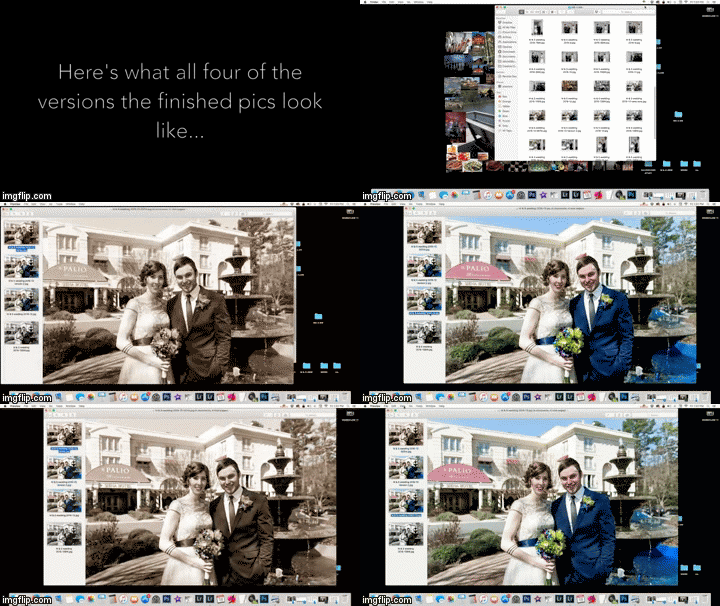
As a bonus, all the couples portraits also include a sepia version and a newspaper or ivory toned version of the original color image.
Here is what all four color versions look like.
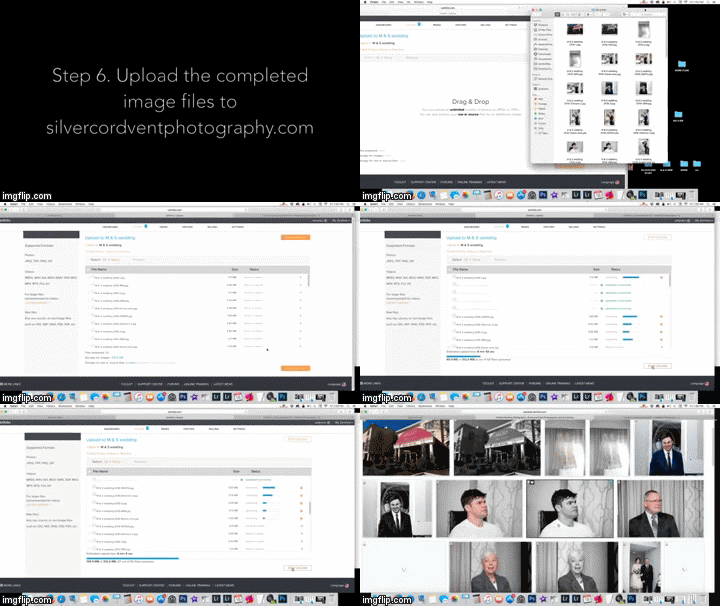
After the post production is complete all of the finished images are uploaded into my clients private galleries and are ready for downloading.
These are the finished photos featured in the clips featured in this post
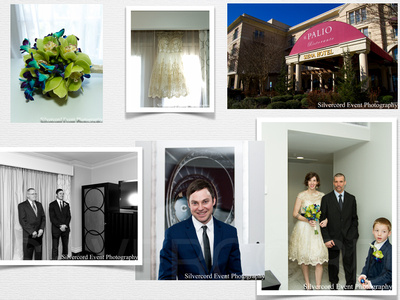

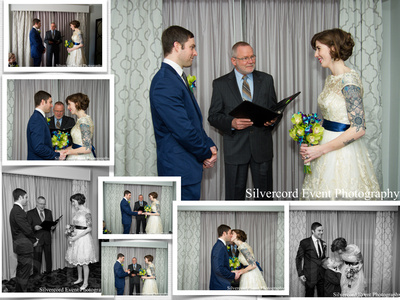

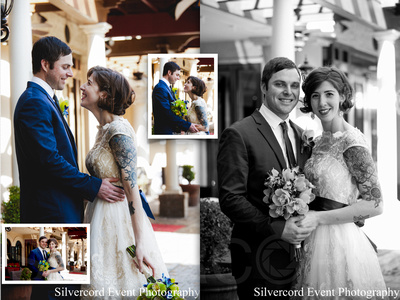


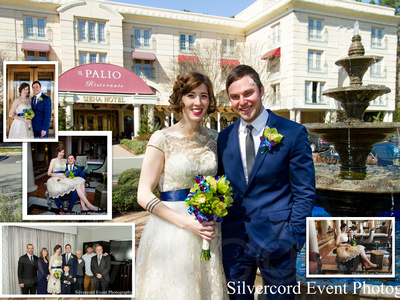

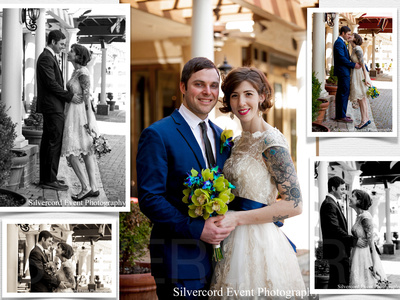

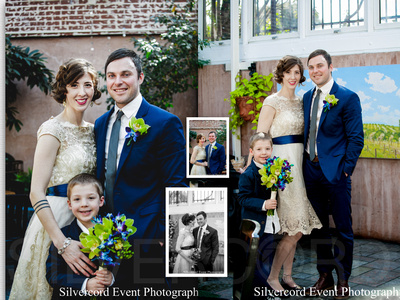

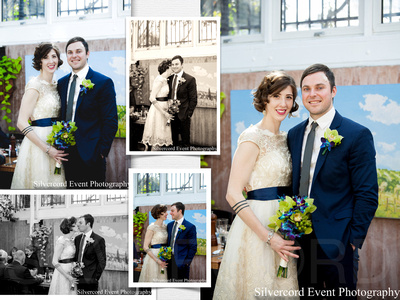

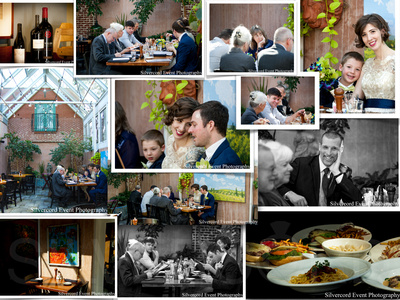

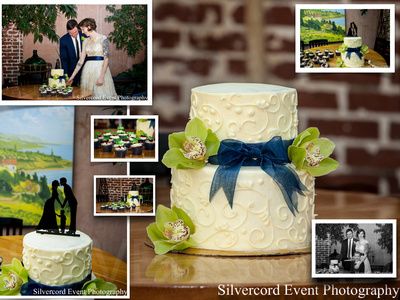

By the way, did you catch the fact that the groom had a band aid on his temple in the series of photos above. The poor guy was in an accident on the day before his wedding. If you did not, don't feel badly! I left these specific photos in this post o highlight the fact that most people never notice things like that unless someone (like me ) points them out.
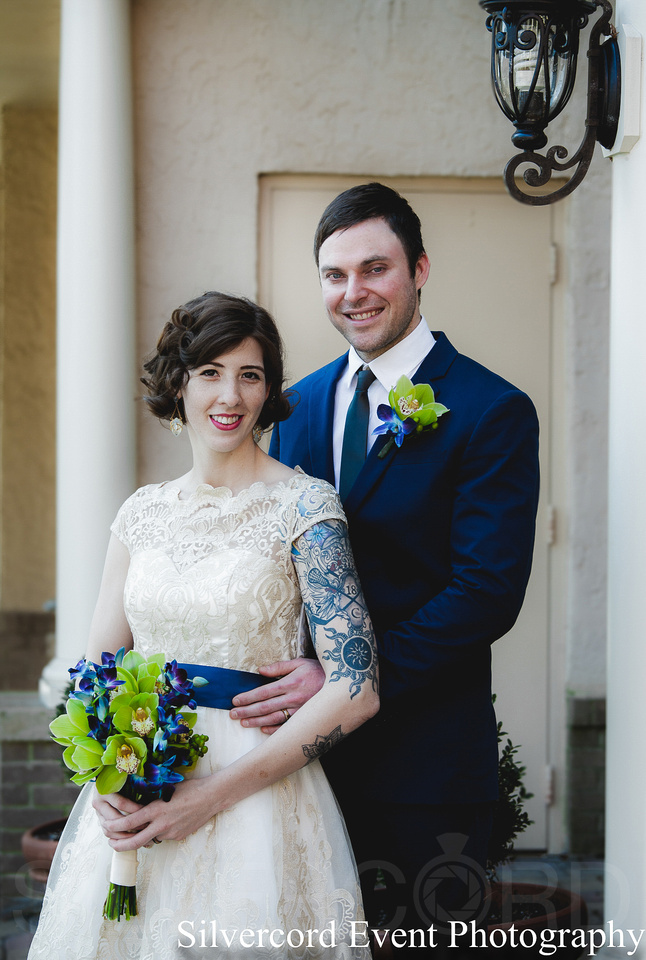

That being said, while I do not include blemish removal in my standard editing package, using Photoshop I am happy to fix blemishes or digitally remove band aids as seen in the example of the above photo for any of my clients for $15 per image.
If you have any additional questions in regards to this post or want to learn more about my flat rate engagement and wedding photography service please contact me anytime!
-S. Siko
Investment information regarding Silvercord Event Photography's Raleigh engagement and wedding photography price and service packages may be found here.
